Tips for Creating a Picture Gallery Wall
I am so excited to not only share these picture gallery walls with you for inspiration, but I’m also happy to say that most of it is complete! This has been a long time coming and I want to share my progress with you. To start off, let me remind you that I’m a professional photographer in Atlanta. That means I have friends that are professional photographers; therefore I have a bazillion photographs of my kids. The images hung are only about 1/2 of the project I want to complete. The project will probably never be complete though, because pictures are constantly being made and I can’t bear to have them only in albums. I want to see all of the highlights on my walls every day!
My Picture Wall Details:
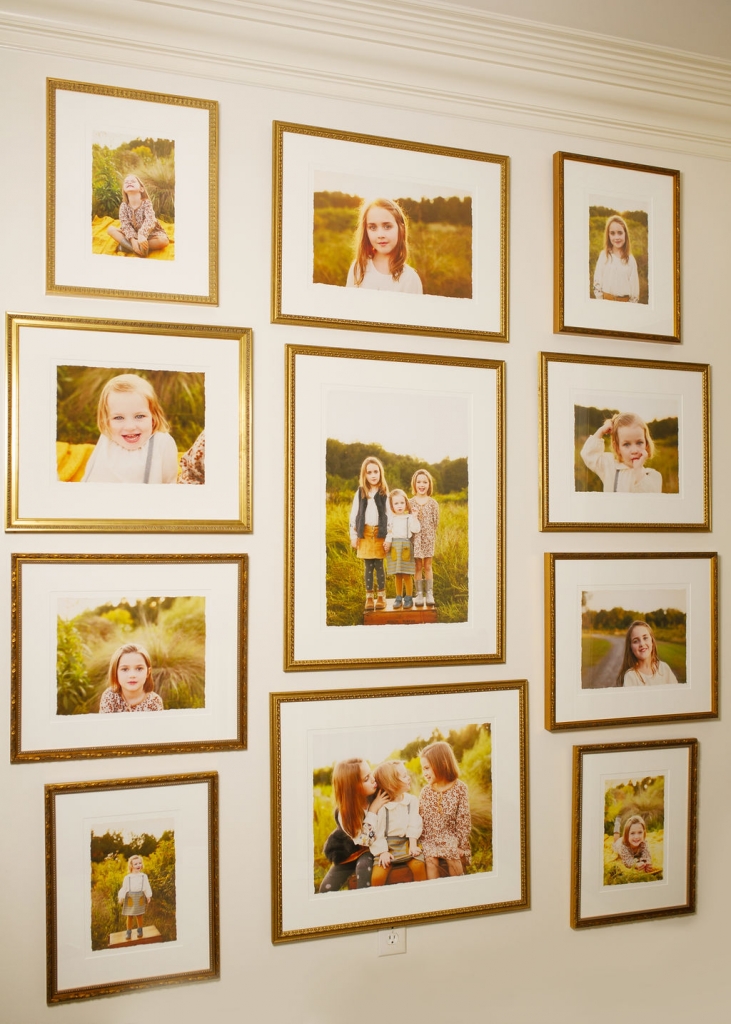
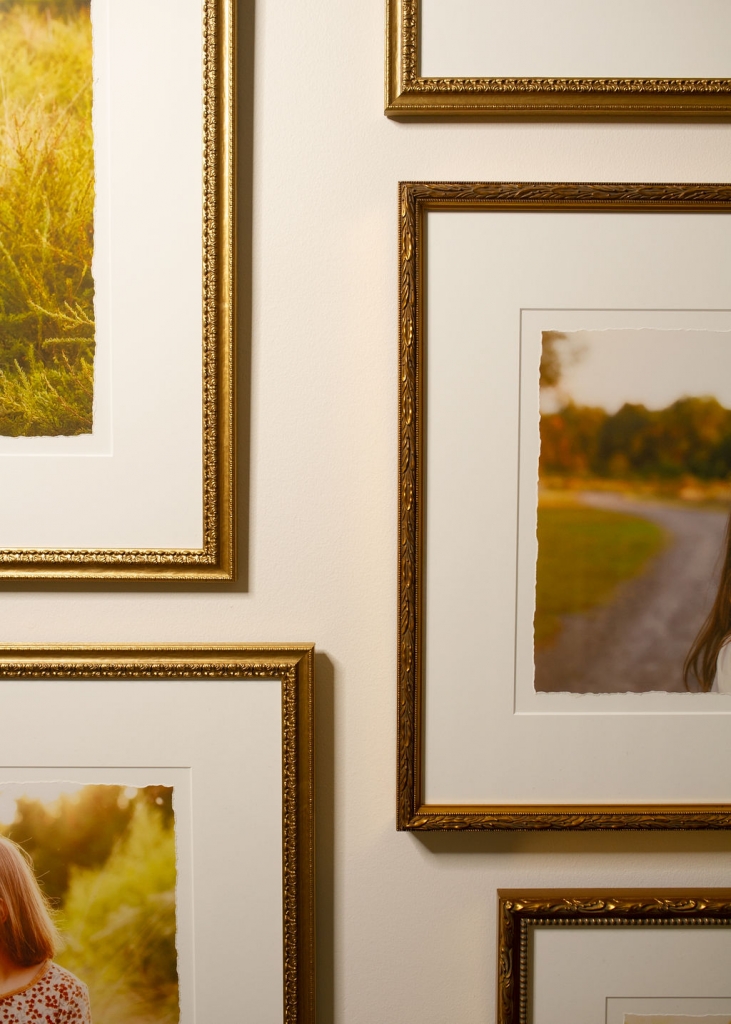
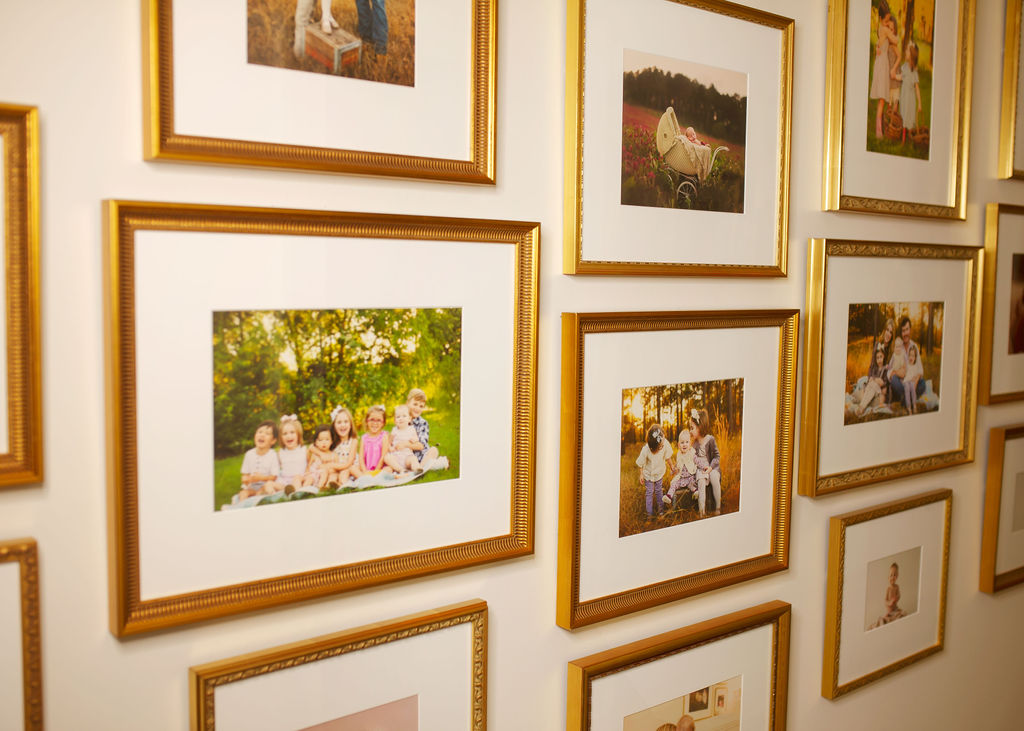
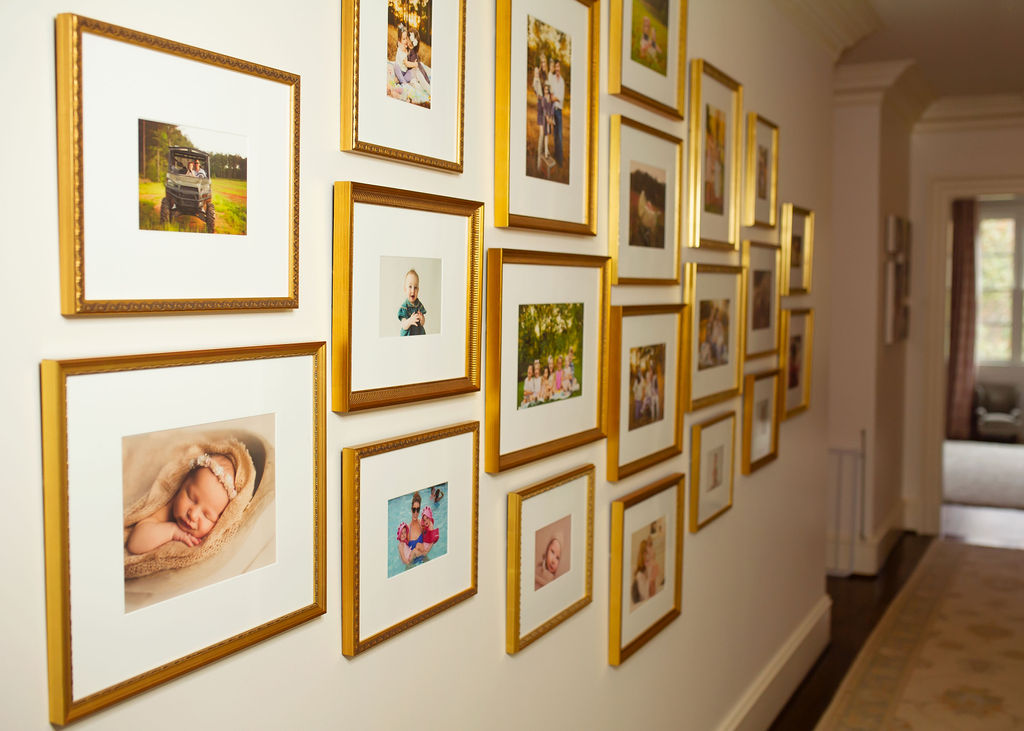
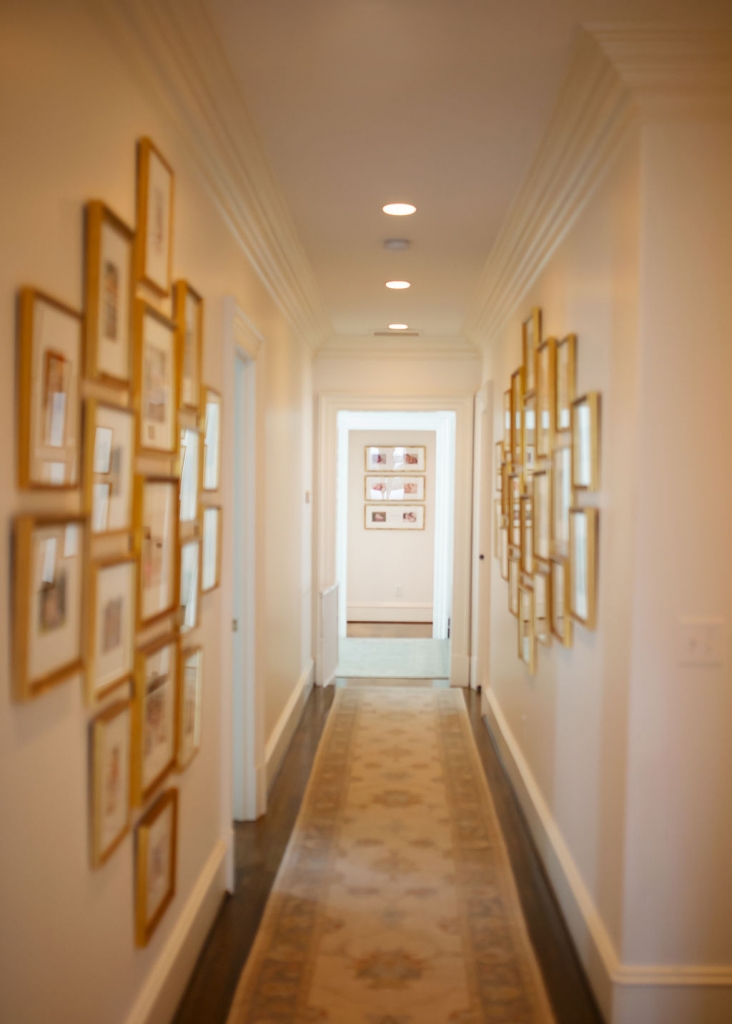
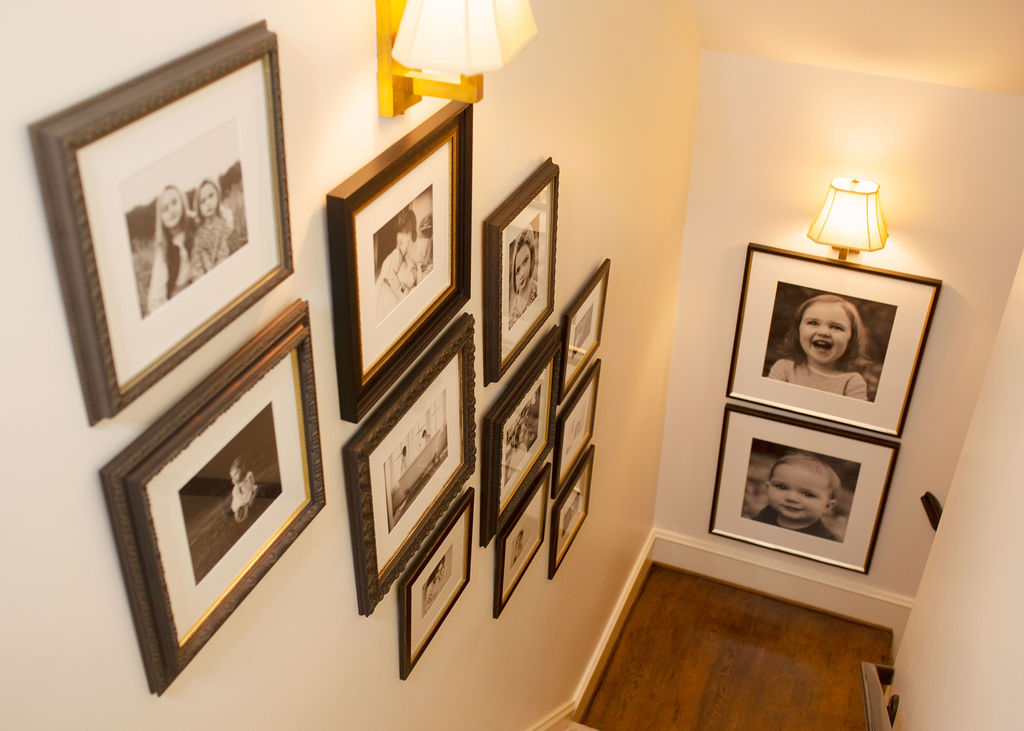
The floor-to-ceiling display at the top of my stairs was shot this past fall by my fabulous friend Jen Wright. I knew before she shot this session that I was going to cover that entire area in one full session. With that in mind, I asked her to shoot more verticals so that I would have plenty of options. I’ve been designing picture walls since 2005, so I literally designed that whole display without measuring one thing!! Pay extra close attention to the torn edge on the photographs. This is our most popular product at the studio because it is unique and beautiful. The torn edge elevates a frame to the next level. Down the hall I framed the rest in the classic style.
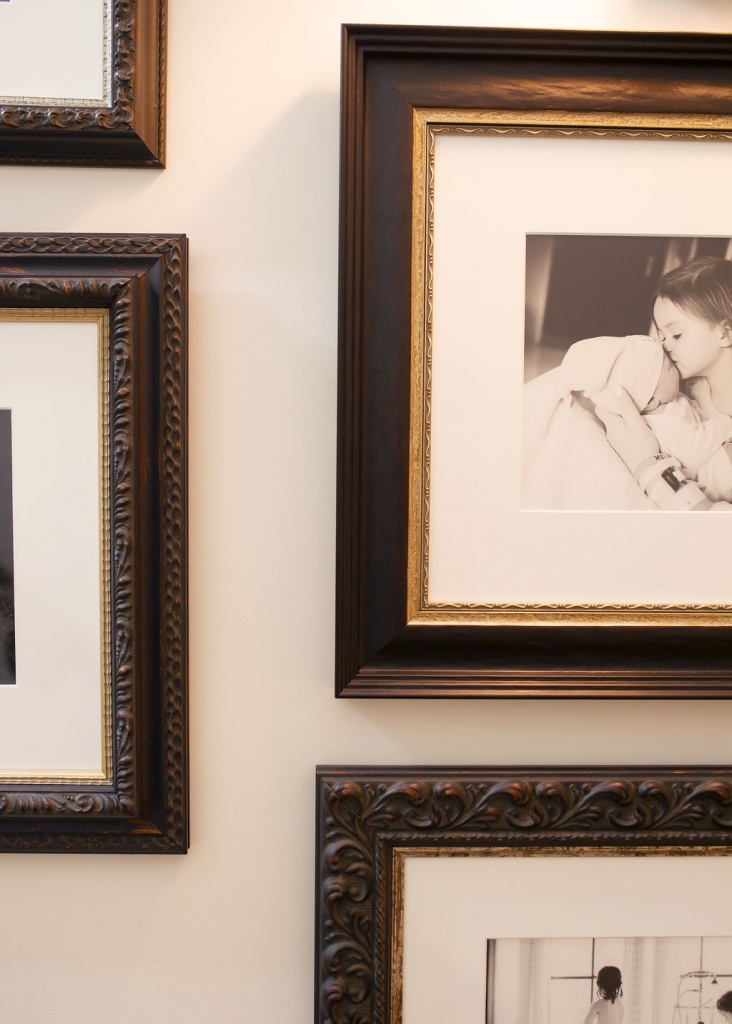
I’ve started a black and white gallery down our back hall stairs that is still a work in progress. It can be very pricey doing all of this at once… so if you don’t want to feel the pain of your credit card bill, I recommend printing and framing as you go instead of doing three years all at once. I’ll be doing the other three years a little every month 😉 I finally made my house a priority – so now that I have my plan, there’s no stopping me now. I can’t wait to keep adding to the black and white staircase and of course the other 50+ images I need to frame as well. I’ll keep you updated on the progress.
Gallery Wall Tips:
- Use a mix of horizontal and vertical images.
- Print an assortment of sizes.
- Don’t print your images too small (don’t be afraid to go big and fill a space up).
- Use a mix of full body and head shots with different emotions to give the collage an interesting flair.
- For more of an eclectic but monochromatic look, use the same color frame but in different styles (as pictured above). This is also a good way to avoid a problem if a frame style goes out of stock.